Enable Live Chat On Your Wordpress Sites
Want to connect instantly with website visitors, answer their questions, and boost sales? ChativeIO Live Chat is your ideal solution! Here are two methods to add live chat to your WordPress site, helping you deliver an exceptional customer experience. Let’s get started!
Requirements
- A ChativeIO account with a customized live chat widget.
- Administrator (admin) access to WordPress.
Method 1: Using The Chative Plugin
The Chative plugin lets you connect with customers in minutes! This is the fastest and easiest way to add live chat, enabling you to support visitors right away.
Step 1: Install the Plugin
Log in to your WordPress dashboard with admin privileges.
Go to
Plugins>Add Plugin.
Search for Chative, click
Install Now, thenActivate.
Step 2: Activate Live Chat
After activation, the Chative icon will appear in the left sidebar of your WordPress dashboard.
Click Chative and sign in to your ChativeIO account, then choose the
Organizationyou want to link to your account, and select theChannelto receive messages from WordPress customers.Click
Enable live chat on your store
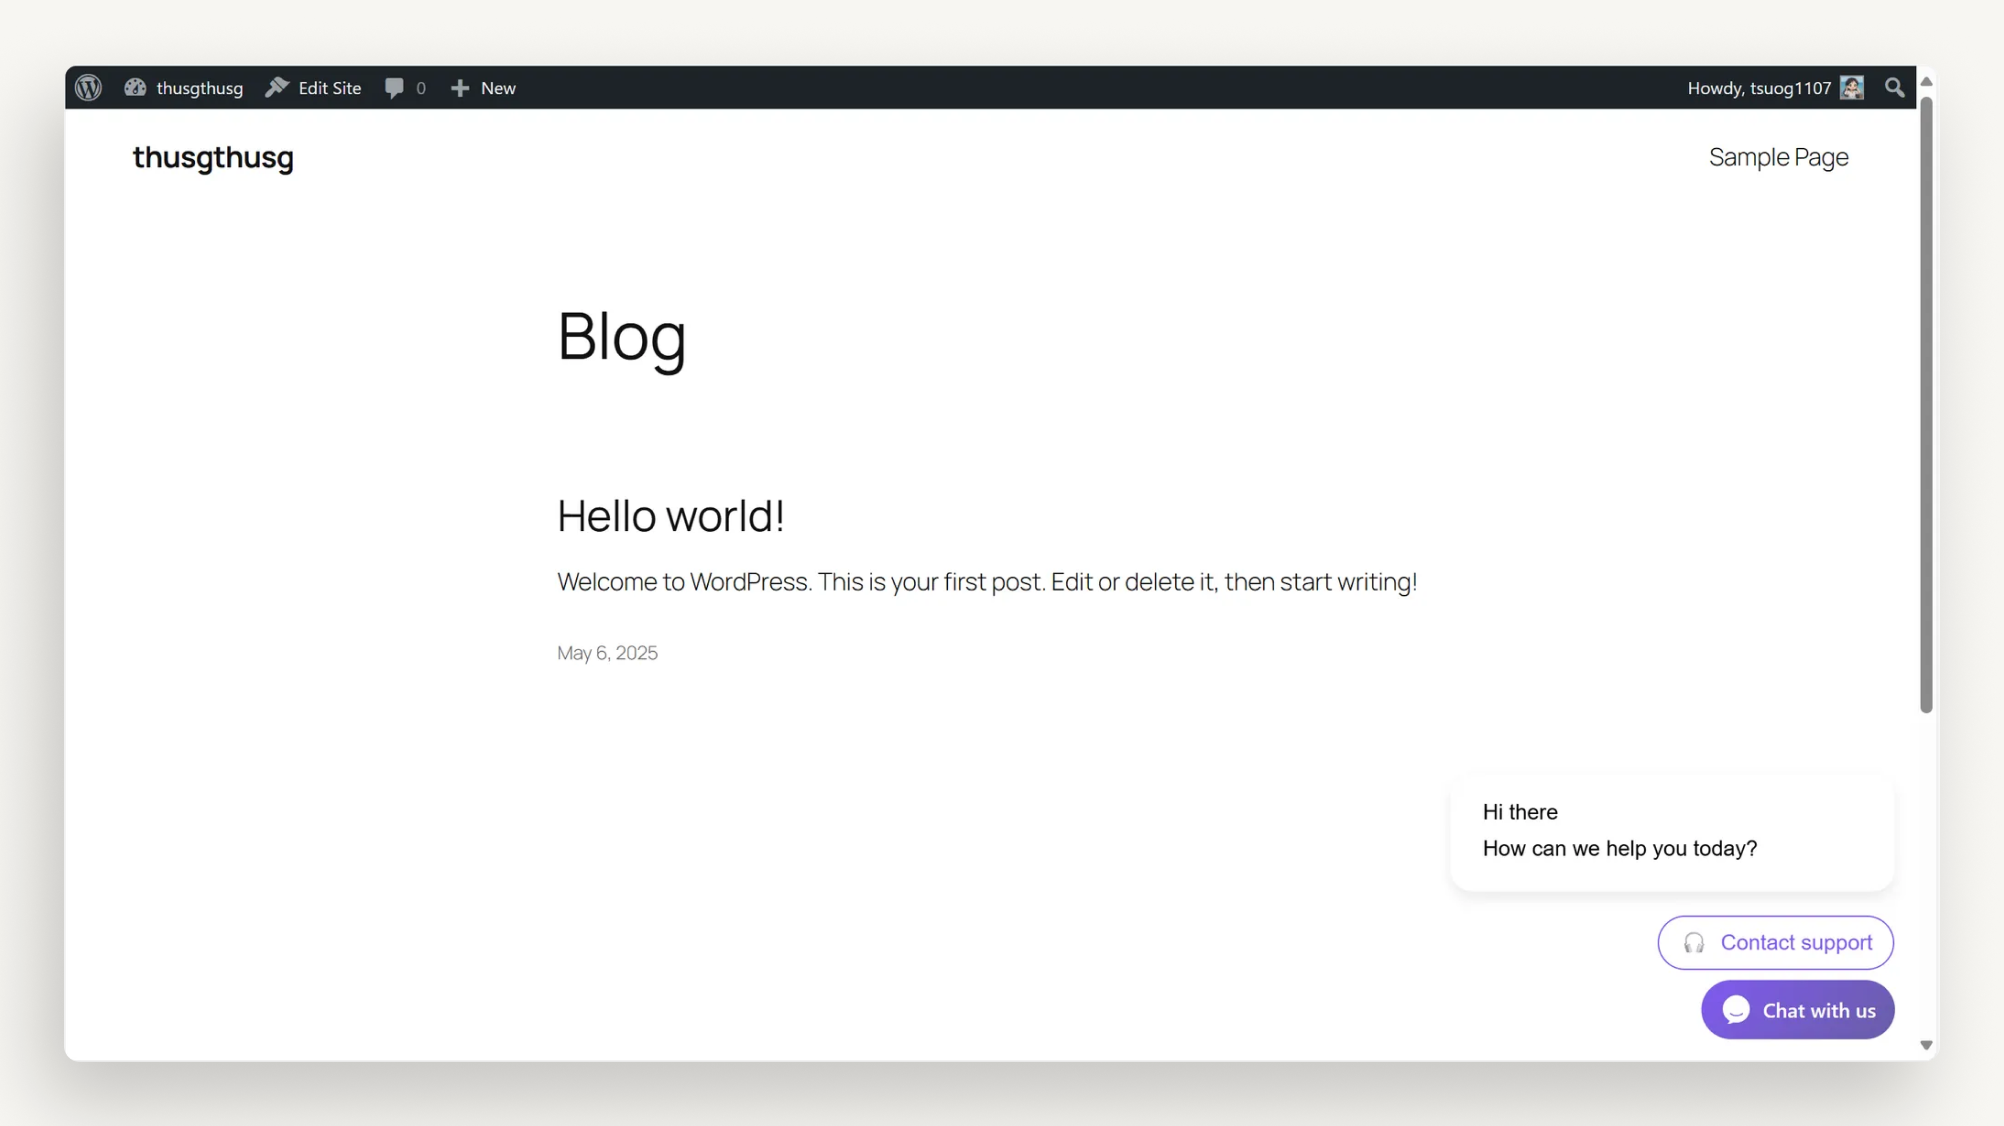
Step 3: Verify
- Visit your WordPress website to ensure the live chat widget is working. You’re all set to welcome customers!

Method 2: Using An Existing Wordpress Plugin (Example: Simple Custom Css And Js)
Prefer more flexibility? This method lets you insert Chative IO code using an existing WordPress plugin. You can choose any plugin that supports code insertion, such as:
- Code Snippets
- Custom CSS and JavaScript
- Insert Headers and Footers
- Code Embed
- Scripts n Styles
- Simple Custom CSS and JS
Note: These are suggestions; you can select other plugins from WordPress.org Plugins. For clarity, we’ll use Simple Custom CSS and JS as an example.
Step 1: Install the Plugin
Log in to your WordPress dashboard with admin privileges.
Go to
Plugins>Add Plugin.
Search for Simple Custom CSS and JS, click
Install Now, thenActivate.
Step 2: Obtain the Live Chat Code
Log in to ChativeIO.
Go to
Channels> Select your channel > ClickInstallation.Enter your WordPress website URL in the Website section, then click
Saveto apply the changes.
Copy the code in the Copy code section.

Step 3: Insert the Code
In WordPress, go to
Custom CSS & JS>Add HTML Code.
Paste the live chat code from Chative IO into the code field.
Click
Publishto save.
Step 4: Verify
- Visit your WordPress website to confirm the live chat widget appears, ready to serve your customers!
Benefits for You
With ChativeIO Live Chat, you can:
- Chat instantly with visitors via Chative Inbox, building trust and boosting conversions.
- Customize the widget (colors, greetings) in ChativeIO to match your brand.
- Support efficiently with your team, delivering an outstanding customer experience.